

Professional prototyping requires more than simply turning a digital model into a physical object. A suitable 3D printer should help users test designs efficiently, evaluate dimensions and fit, experiment with materials, and produce consistent prototypes throughout the development process. With many desktop models offering different build volumes, speeds, materials, and features, identifying the best desktop 3D printer requires a practical comparison based on the actual prototyping workflow.
What Makes a Desktop 3D Printer Suitable for Prototyping?
The best printer for professional prototyping depends on the type of parts being produced and how they will be evaluated. A designer developing an enclosure, for example, may prioritize dimensional consistency and surface quality, while an engineer testing a functional component may need material compatibility and mechanical performance.
Before comparing specifications, define the purpose of the prototype. Consider its dimensions, expected strength, visual requirements, number of iterations, and materials. This helps narrow the selection and prevents users from paying for capabilities that are not relevant to their projects.
Build volume is another practical consideration. A larger printing area can accommodate bigger prototypes or several smaller components in one job. This can be useful when comparing multiple design variations at the same time.
How Important Is Print Accuracy?
Accuracy matters because prototypes are often used to verify dimensions, assembly, and component fit. A printer that produces inconsistent results can make it difficult to determine whether a design itself needs adjustment or whether the printing process introduced the problem.
For this reason, users should look beyond a manufacturer’s headline specifications. Auto leveling, temperature control, mechanical stability, and appropriate material settings can all influence the consistency of printed parts.
The WonderMaker ZR, for example, includes automatic leveling and one touch calibration. Its design also incorporates a full metal frame intended to reduce vibration during printing. The printer has a 300 × 300 × 300 mm build volume, giving professional users space to produce larger prototypes or multiple smaller parts in one print.
Should Print Speed Be a Priority?
Fast printing can shorten the time between design changes and physical testing, which is particularly valuable when a project requires multiple iterations. However, maximum speed should not be the only specification used to compare printers.
A prototype is useful only when it accurately represents the intended design. Increasing print speed without considering material behavior, cooling, layer adhesion, and mechanical stability may affect the final result. A more useful approach is to consider the balance between speed, reliability, and the required level of detail.
The WonderMaker ZR supports a maximum print speed of 300 mm/s, a maximum travel speed of 600 mm/s, and acceleration of up to 20,000 mm/s². It also includes a 100°C heated bed and a 32 mm³/s flow rate. These specifications provide users with several factors to consider when evaluating how the printer fits their prototyping workflow.
Which Materials Should a Professional Prototype Use?
Material selection should reflect the purpose of the prototype. PLA can be suitable for visual models and general design validation, while PETG, ABS, and ASA may be considered when different levels of durability or environmental resistance are required.
A printer should therefore support the materials relevant to the project rather than simply offering a long material list. Users should also check nozzle temperature, bed temperature, enclosure requirements, and recommended printing conditions for each filament.
WonderMaker 3D currently offers materials including PLA, PLA Matte, Silk, ABS, ASA, and PETG across its product ecosystem. Its ASA filament, for example, is specified for outdoor and industrial applications and requires an enclosure for printing.
For more demanding applications, the ZR Ultra S provides four independently heated toolheads with temperatures up to 300°C, a 60°C enclosed chamber, and a 100°C heated bed. These specifications may be relevant when professional prototyping involves materials that benefit from greater temperature control.
How Does Multi-Color or Multi–Material Printing Help Prototyping?
Multi-color printing can be useful when color is part of the design evaluation, such as testing product appearance, labeling, logos, or different components within a single prototype. Multi-material printing can also support projects where different material characteristics are needed.
However, these capabilities should be evaluated according to actual project requirements. If most prototypes use a single material and color, a simpler configuration may be sufficient. If prototypes regularly combine different materials or colors, multiple toolheads can reduce the need for manual filament changes.
WonderMaker 3D’s ZR series includes different approaches to this workflow. The ZR uses one toolhead for four-color printing, while the ZR Ultra and ZR Ultra S use four toolheads. The ZR Ultra supports independently heated toolheads, allowing different nozzles to be heated separately for multi-material applications.
Why Software Matters in Professional Prototyping
The printer itself is only one part of the prototyping process. Slicing software determines how a 3D model is converted into printing instructions, so software capabilities can directly affect workflow efficiency.
Professional users should consider whether the slicer provides suitable control over layer settings, material assignment, toolhead paths, and multi-color models. A straightforward workflow can make it easier to repeat tests and compare different iterations.
WonderMaker 3D provides Wonderprint Orca, a slicing solution based on Orca Slicer and optimized for its ZR series. The software includes functions for multi-color mapping and toolhead path planning.
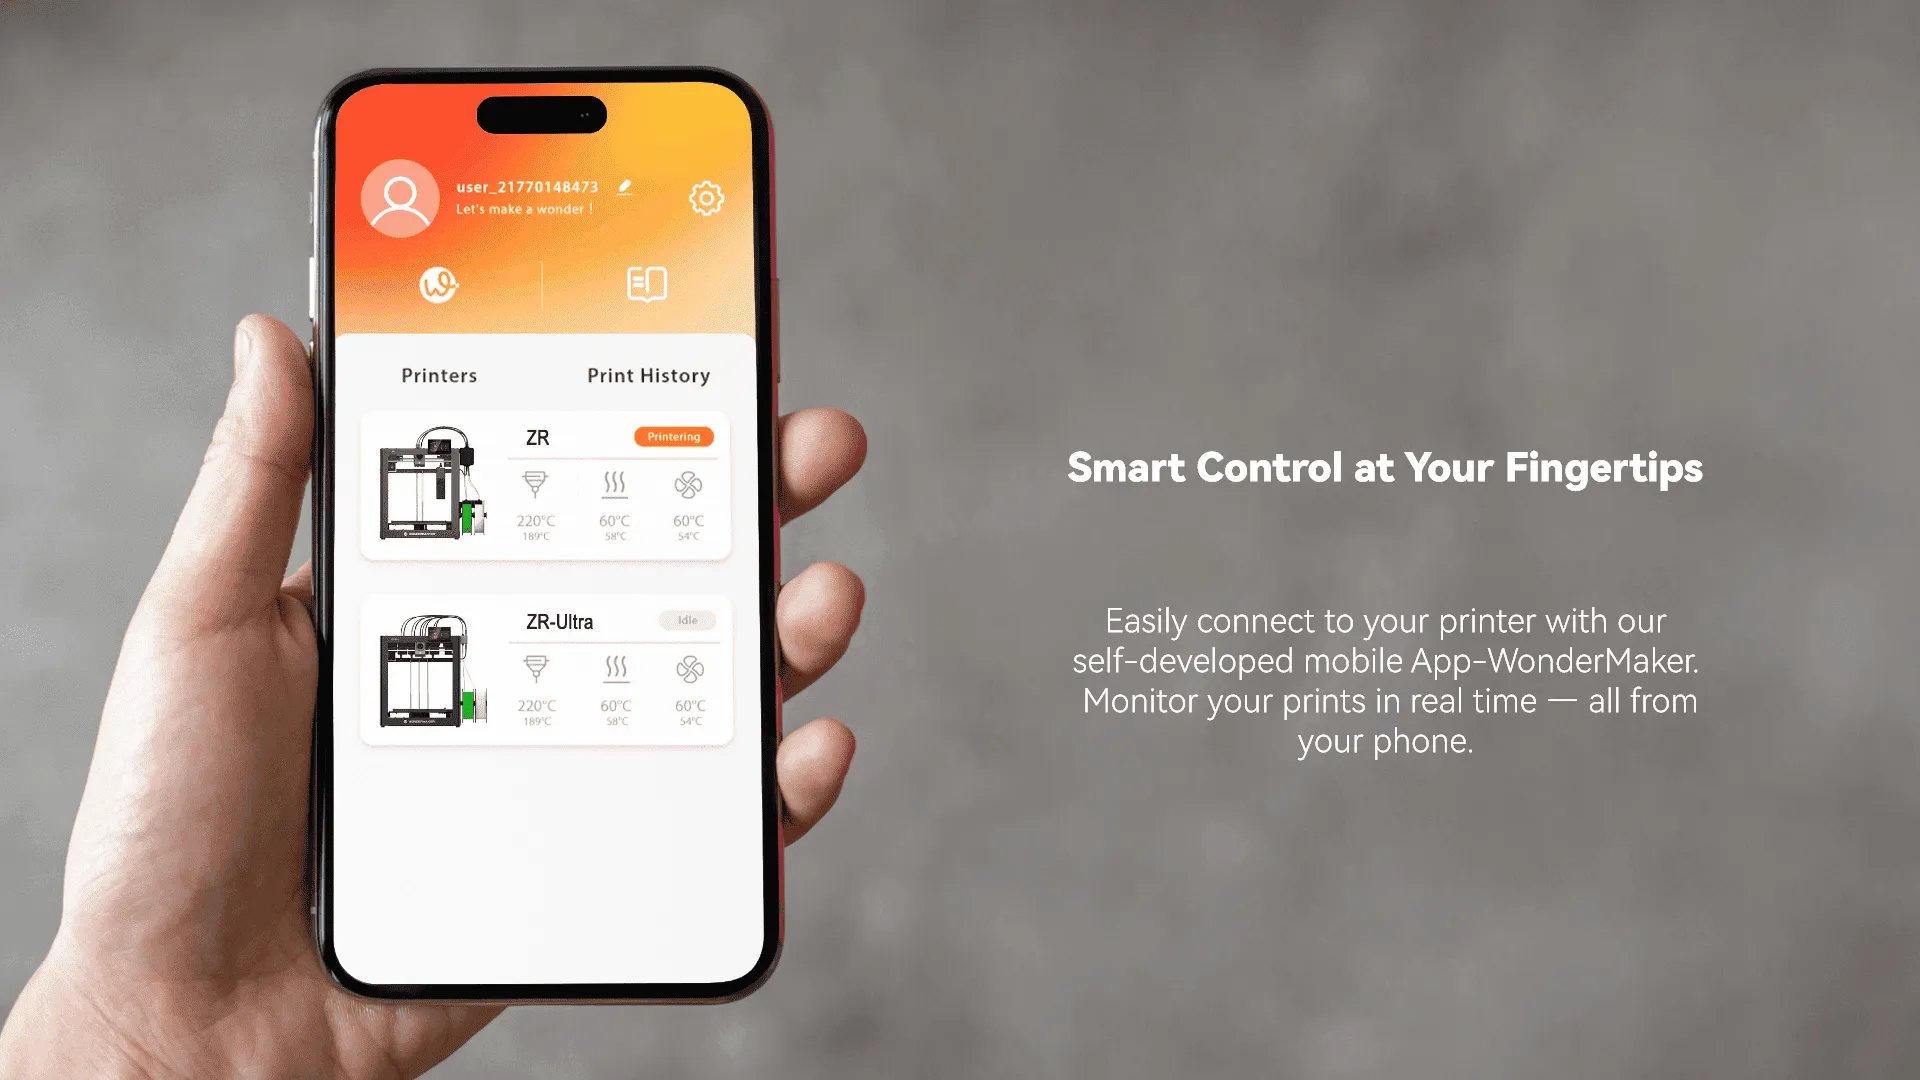
The WonderMaker App also provides real time device status monitoring within a local area network, along with access to printing history and camera feeds where supported. This can be useful when prototypes require longer print jobs and regular progress checks.
Consider the Entire Prototyping Workflow
Choosing the best desktop 3D printer for professional prototyping should ultimately be based on the complete workflow rather than one specification. Build volume affects what can be produced, material compatibility determines which applications are practical, and print speed influences iteration time. Accuracy, thermal control, software, and maintenance requirements also affect the usability of the system over time.
WonderMaker 3D offers several desktop options within its ZR range, including the large format ZR, the four toolhead ZR Ultra, and the enclosed ZR Ultra S. These configurations provide different combinations of build volume, toolhead design, material support, and environmental control.
Making a Practical Choice
The best desktop 3D printer is ultimately the one that fits the specific requirements of the prototyping process. Instead of choosing based solely on maximum speed, price, or the number of advertised features, compare each printer according to the size of the parts, materials, accuracy requirements, iteration frequency, and software workflow involved.
A structured evaluation makes it easier to identify a machine that can produce useful prototypes consistently while supporting efficient design testing. For professional users, that practical fit is often more important than any single specification.